Code retreat about logging
At PicScout we have various ways to improve our software craftsmanship abilities. One of them is doing code retreats.
The code retreats are led by two of our software engineers. They are responsible to choose an interesting exercise for the R&D team to perform.
We usually do 2 or 3 sessions, each time writing code in pairs. Between each session we have a discussion about the previous session and decide what to do in the next session. In between we enjoy Pizza and beers at the curtesy of Picscout J
I would like to elaborate about our last code retreat, led by Ram and Galit from our R&D team.
Session 1
The first session was about writing some complicated code that does a lot of complicated logic with a movie repository. We were asked to implement an interface which retrieves bulks of movies from the repository, and filter them according to some given rules.
After the first session we regrouped and a few brave volunteers submitted their compiled code which was invoked by a small program written by Ram and Galit.
When the program returned wrong results, the developers that wrote it were asked to look at the logs and explain what went wrong.
They found it a bit hard to do because, well… there were no logs.
Than the real (evil) purpose of the code retreat was discovered:
How to write log messages that can be used in production environment to give useful insights for complicated production scenarios.

Session 2
In the second session we were asked to add logs to the code we wrote in the first session using our logging infrastructure (based on log4net).
After the second session we regrouped again, ran a few more examples and discussed how the log prints were implemented, and how to improve them.
For example:
- Using logs to show the application flow.
- What is the log level we expect the application to write in production?
- Which message should be written in each level? (For example: No normal system behavior should be logged at a warning level).
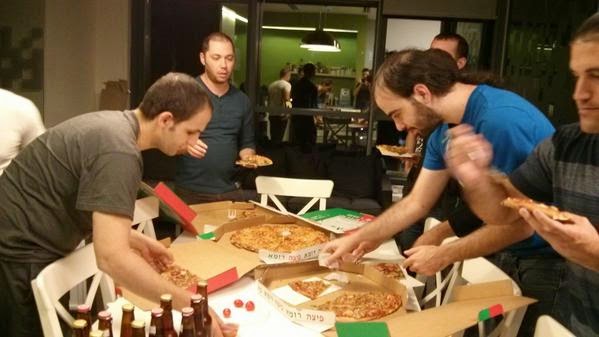
Pizza and Beers
Session 3
For the final session we had, we were asked to write a small AOP (aspect oriented programming) example that was used to add some repeating logs messages.
This was a nice exercise that showed us how we can add logs to our code simply by adding attribute to our method thus keeping the code cleaner.